What is a CTO bracket and how to install it correctly?
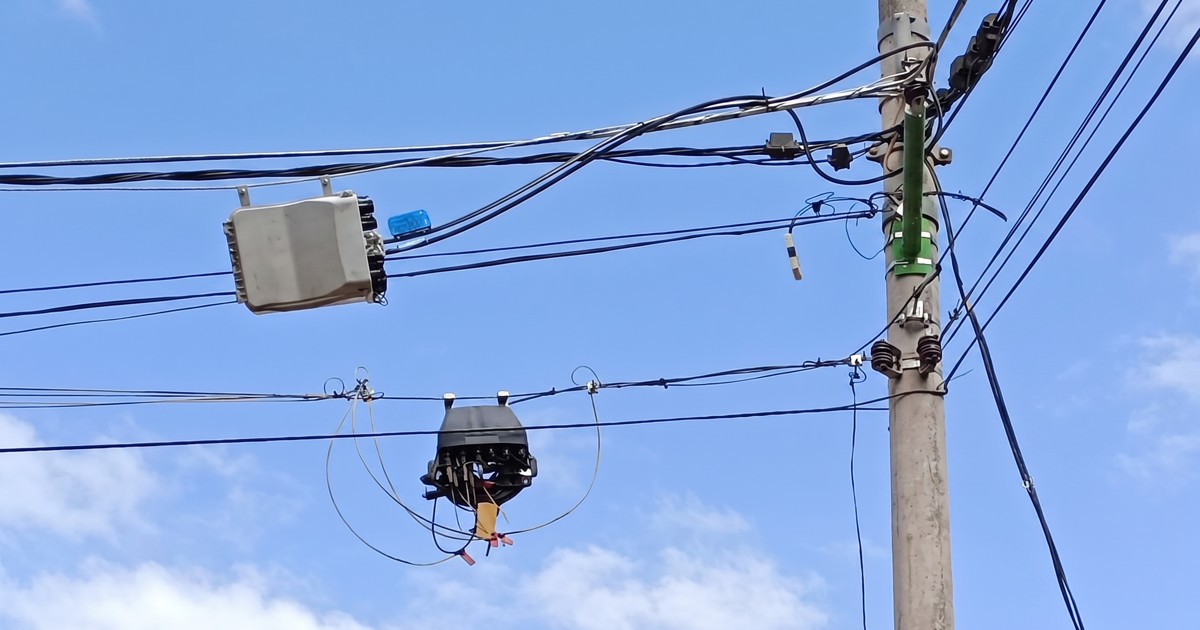
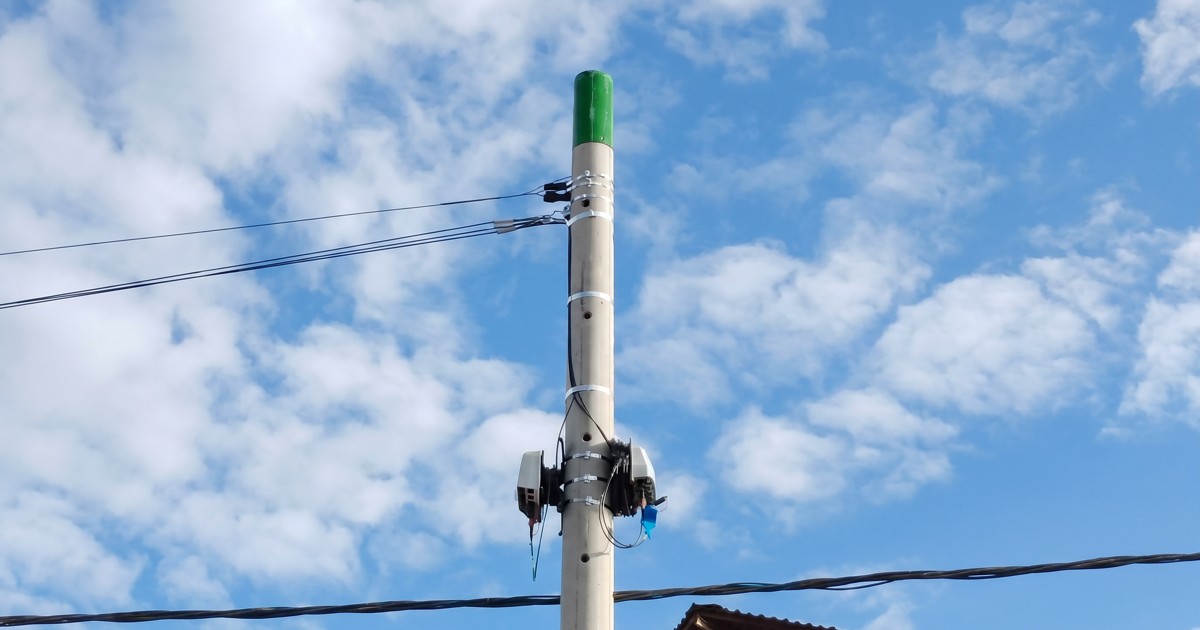
In an aerial FTTH network, the CTO (Customer Terminal Outlet), also known as FAT (Fiber Access Terminal) or NAP (Network Access Point), is where the distribution network transitions into the user access network. It is the component that gets opened the most throughout the network's service life, and the one subjected to the greatest variable mechanical loads.
The CTO bracket is the hardware that keeps that box securely in place.
When it is poorly selected or incorrectly installed, the consequences are not immediate: they surface within the first 6 to 18 months of operation, as unexplained optical losses, shifted splices, or connectors that fail due to vibration. The root cause is almost always the same: a poorly secured box.
What is a CTO and why does it need to be properly secured?
A CTO (Customer Terminal Outlet), also known as FAT (Fiber Access Terminal) or NAP (Network Access Point), is the distribution box that splits the fiber optic signal coming from the node to the end users. Depending on the network design, it can house from 8 to 48 optical splitters.
It is installed on the pole closest to the group of users it will serve, and from it, the access cables run to each premises (drop cables).
The CTO is subjected to several forces simultaneously:
- Self-weight of the box and internal cables
- Drop cable tension from cables running to individual premises
- Dynamic loads from wind, cable vibration, and handling by technicians during maintenance
- Thermal expansion from heat and cold cycles (especially in highland and upper jungle regions)
The CTO bracket must absorb all these forces without transmitting them to the splices or splitters inside the box.
Types of CTO brackets
Splice closure bracket (pole bracket)
The most common type in FTTH installations in Peru. It consists of a metal plate with a curved hook at the top that wraps around the pole, and one or two bolts that tighten the grip. The box hangs from the hook and is held in place by gravity and by the tension of the cables entering and exiting.
Advantages:
- Quick installation, no pole drilling required
- Compatible with wooden, concrete, and metal poles
- Allows the box to be removed for maintenance without dismounting the bracket
Variants:
- Short bracket (30-40 cm): for boxes with up to 16 ports
- Long bracket (50-70 cm): for 24-48 port boxes or installations where the box must be positioned away from the pole for accessibility
Bracket with stainless steel banding strap
On poles where the top hook is not viable (irregular-profile poles, poles with multiple elements already installed), the bracket is attached to the pole using stainless steel banding instead of the hook. The band wraps around the pole and is tensioned with a buckle, providing a solid attachment at any diameter.
This variant is more versatile but requires more installation time.
Selection criteria
1. Pole type and diameter
Poles in Peru are primarily:
- Reinforced concrete (most common in Lima and major cities): variable diameter between 12 and 20 cm at the installation point
- Treated wood (frequent in rural and peri-urban areas): greater diameter variability
- Galvanized metal (shared street lighting and high-voltage poles): smooth surface, requires a friction band
The bracket hook must have a radius of curvature compatible with the pole diameter. An undersized hook does not make full contact and allows lateral movement.
2. CTO box weight
CTO boxes range from 800 g (compact 8-port models) to 4 kg (fully equipped 48-port models). The bracket must have a nominal load capacity greater than the weight of the equipped box plus the estimated tension from the drop cables.
As a reference: a standard 60 m drop cable exerts between 800 g and 1.2 kg of tension at the box exit point.
3. Installation height and accessibility
The box must be placed at a height that allows maintenance access without scaffolding (generally between 5 and 7 meters above ground on urban poles). The bracket must position the box so that the lid opening is accessible from a hand ladder.
4. Climate zone
In coastal areas with environmental salinity (Lima, Callao, Piura, Trujillo), the bracket must be stainless steel or have a high-resistance epoxy coating. Standard galvanized brackets can corrode within 2 to 3 years under these conditions, compromising the structural integrity of the installation. For more detail, see Corrosion in FTTH hardware.
Step-by-step installation
Required materials
- CTO bracket of the appropriate size
- Wrench (13 mm or 17 mm depending on the bracket bolt)
- Bubble level
- Stainless steel banding strap + buckle (if required by the bracket type)
- Banding tensioning tool
Procedure
Step 1: Select the installation point
Identify the height and position on the pole where the box will be installed. Verify that there is no conflict with other elements already in place (transformers, low-voltage splices, other cables). Leave at least 50 cm of clearance around the box.
Step 2: Position the bracket
Place the bracket hook over the pole at the defined position. Check with a level that the bracket is horizontal: a tilt greater than 5 degrees can cause the box to slide or create asymmetric tension on the drop cables.
Step 3: Secure the bracket
Tighten the mounting bolts to the torque specified by the manufacturer. Do not over-tighten on wooden poles (risk of cracking). On concrete poles, verify that the hook is not resting on a damaged or chipped area.
Step 4: Mount the box
Hang the box on the bracket hook. Before connecting the cables, verify that the box does not swing laterally. If it swings, adjust the hook mounting bolt or install an additional restraining band.
Step 5: Cable management
Drop cables must exit the box in a downward or lateral direction, never upward. An upward exit allows rainwater to accumulate inside the box through the pass-through sleeves. Use additional cable clamps on the pole to route drop cables downward before they change direction.
Step 6: Final verification
With the box installed and cables connected, verify:
- The box does not move when a 5 kg lateral load is applied
- The lid closes correctly and the seal is intact
- The drop cables do not exert direct tension on the internal connectors
Common mistakes and how to avoid them
| Mistake | Consequence | Solution |
|---|---|---|
| Tilted bracket | Box slides, asymmetric tension | Use a level during installation |
| Undersized bracket for the pole | Lateral movement, vibrations | Verify hook curvature radius vs. pole diameter |
| Drop cables exiting upward | Water ingress, connector failure | Redirect cables downward before the exit point |
| Bolts without proper torque | Insufficient grip or pole damage | Follow manufacturer torque specifications |
| Galvanized bracket in coastal area | Corrosion within 2-3 years | Specify stainless steel for saline environments |
| Box at inaccessible height | Rework during maintenance | Respect maximum ladder-accessible height |
When to use a short bracket vs. a long bracket
The choice between a short and long bracket depends not only on the box size but also on the density of elements on the pole.
Use a long bracket when:
- The pole already has low-voltage or telecom cables in the installation area
- The box needs to be positioned away from the pole to allow full lid opening
- Two boxes are being installed on the same pole (use two brackets on opposite sides)
Use a short bracket when:
- The pole has free space and the box has up to 16 ports
- The goal is to minimize the lever moment on the pole (high winds)
Stock available in Peru
CTO brackets and splice closure mounting hardware are available in stock in Peru in both short and long versions, in galvanized steel and stainless steel.
For technical consultation on the right bracket for your installation:
📲 +51 999 000 361 · +51 990 983 671
🌐 monstertek.net/contact
References
- OSIPTEL, Telecommunications infrastructure reports in Peru
- MTC, Ministry of Transport and Communications of Peru
- ITU-T G.652, Single-mode fiber optic standard for FTTH networks
Related articles
Need CTO brackets?
Tell us what you need and a specialist will contact you with availability, timelines and pricing.
Talk to a specialist →